Introduction
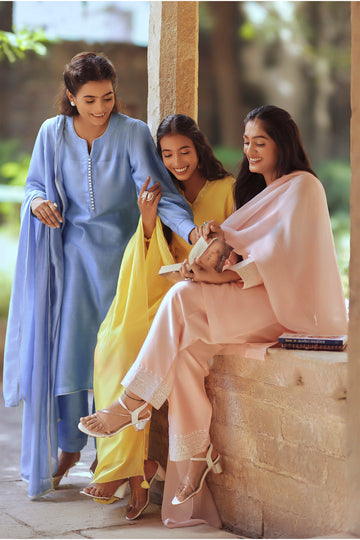
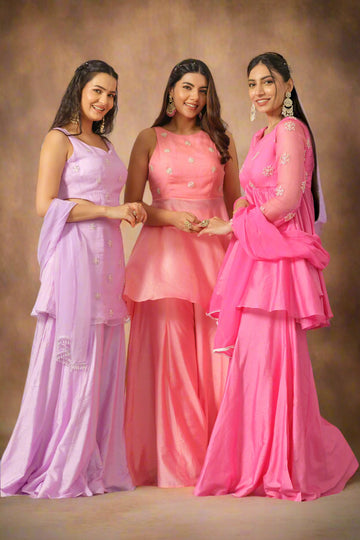
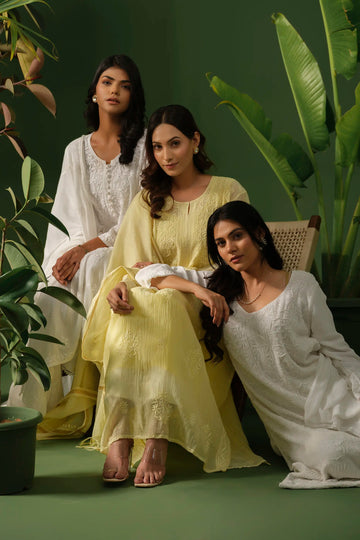
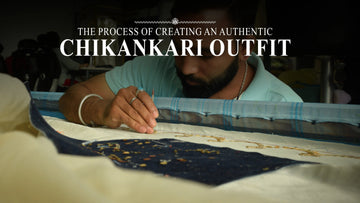
Chikankari, the exquisite hand embroidery from Lucknow, is a centuries-old art that reflects the rich cultural heritage of India. Creating an authentic Chikankari outfit is a meticulous process involving skilled artisans, traditional techniques, and delicate craftsmanship. This guide explores the step-by-step journey of a Chikankari outfit from fabric to finished masterpiece.
Step 1: Selection of Fabric
Choosing the Right Material
The foundation of a beautiful Chikankari outfit begins with selecting high-quality fabric. Traditional choices include:
-
Cotton: Lightweight and breathable, perfect for casual and summer wear.
-
Georgette: Offers a flowy drape, ideal for elegant outfits.
-
Silk & Muslin: Used for luxurious and formal Chikankari ensembles.
-
Chiffon & Organza: Provide a sheer, delicate base that enhances embroidery details.
Step 2: Block Printing the Design
Transferring the Embroidery Pattern
Once the fabric is chosen, the next step is to imprint the embroidery design using wooden blocks dipped in natural dyes. This process, known as ‘Chhapayi’, serves as a guide for artisans to follow while stitching.
Key Features of Block Printing:
-
Uses eco-friendly dyes that fade after embroidery is complete.
-
Ensures uniform placement of motifs and patterns.
-
Provides a blueprint for intricate hand embroidery.
Step 3: Hand Embroidery by Skilled Artisans
The Heart of Chikankari
This is the most labor-intensive step, where artisans meticulously stitch the pre-printed designs using needle and thread. Each stitch is carefully crafted to bring the design to life.
Traditional Chikankari Stitches:
-
Bakhiya (Shadow Work): Creates a subtle, shaded effect.
-
Phanda & Murri: Tiny knots resembling beads for texture.
-
Keel Kangan: Intricate floral motifs with raised embroidery.
-
Jaali Work: Open-thread patterns that give a lace-like effect.
-
Hool: Petal-shaped detailing that enhances floral designs.
This stage may take weeks or even months, depending on the complexity of the design.
Step 4: Washing & Finishing
Enhancing the Final Look
Once embroidery is completed, the outfit undergoes multiple washes to remove the block print traces and refine the final look. Traditional methods ensure the fabric retains its softness and durability.
Steps in the Finishing Process:
-
Washing: Gentle hand washing to eliminate excess dyes and marks.
-
Starching: Adds structure to the fabric while maintaining its softness.
-
Ironing & Inspection: Ensures evenness and removes any minor flaws before the outfit reaches the market.
Step 5: Additional Embellishments & Styling
Elevating the Beauty of Chikankari
For special occasions, Chikankari outfits are often enhanced with:
-
Mukaish Work: Tiny metal embellishments for added shimmer.
-
Gota Patti: Gold or silver ribbons stitched for a regal look.
-
Pearls & Sequins: Subtle embellishments to enhance the embroidery.
-
Zari Work: Gold or silver thread detailing for festive and bridal wear.
Step 6: Tailoring & Customization
Ensuring the Perfect Fit
Once embroidery and finishing are complete, the fabric is tailored into various outfit styles, including:
-
Kurtis & Anarkalis: Perfect for casual and semi-formal occasions.
-
Sarees & Lehengas: Grand ensembles for weddings and festivities.
-
Dupattas & Stoles: Versatile pieces that complement any attire.
Customizations, such as neckline designs, sleeve patterns, and borders, are added based on individual preferences.
Why Handmade Chikankari Stands Out?
-
Uniqueness: Each piece is handcrafted, making it one of a kind.
-
Timeless Elegance: Chikankari embroidery never goes out of fashion.
-
Cultural Heritage: Supports artisans and preserves traditional craftsmanship.
-
Breathability & Comfort: Ideal for all seasons and occasions.
Conclusion
Creating an authentic Chikankari outfit is a labor of love that involves artistry, patience, and tradition. From selecting the finest fabric to intricate embroidery and final embellishments, every step reflects a dedication to craftsmanship. By choosing handmade Chikankari, you not only embrace elegance but also support artisans who keep this ancient art alive.
FAQs
-
How long does it take to make a Chikankari outfit?
Depending on the complexity, it can take anywhere from a few weeks to several months. -
Can Chikankari be worn in all seasons?
Yes! Cotton and muslin are perfect for summers, while silk and georgette work well for winter and festive occasions. -
How do I care for my Chikankari outfits?
Hand wash gently in cold water with mild detergent and avoid direct sunlight for drying. -
Where can I buy authentic Chikankari?
Look for certified handloom stores, artisan collectives, and reputed online platforms offering handcrafted Chikankari. -
What makes handmade Chikankari better than machine embroidery?
Handmade Chikankari showcases intricate detailing, slight imperfections that add uniqueness, and supports traditional craftsmanship.

